Adding Inventory
Once necessary setups are in place, quantities of inventory can be added to the system. This is accomplished by creating a purchase order, then flagging items on the purchase order as "received."
Creating Purchase Orders
Regardless of whether you plan to share POs with vendors, POs must be created in order to receive inventory into the system.
-
Navigate to the Inventory App > Purchase Orders.
-
Click Add New Purchase Order. The Purchase Order Details form will appear.
-
-
Once a vendor is selected, and option to "Manage inventory products of [Vendor Name]" will appear. Click the linked vendor name to access the vendor record.
-
-
Click Add New Order Item to begin adding items to the purchase order. A table will appear.
-
If necessary, click Add New Order Item again to add more items.
-
When finished, click Save.
-
Adding Items to the Purchase Order: After the PO has been saved, staff can add more items to it from the Purchase Order Record > Details tab, by clicking Add Item to Purchase Order.
Associating More Items with the Vendor: If the product you wanted to order is not associated with the vendor in question (but should be), you can quickly associate it via the Purchase Order Record > Details tab, by clicking Add Inventory Product.
Printing Purchase Orders
If you wish to print or save a purchase order as a .pdf to share with a vendor,
-
Navigate to the Inventory App > Purchase Orders.
-
Open the Purchase Order Record > Overview tab.
-
Click Purchase Order Report. A new window displaying the report will appear.
-
Click the Print or Save icon.
Receiving Ordered Product into Inventory
Once an ordered product is received, it must be flagged as received by staff to bring it into inventory.
-
Navigate to the Inventory App > Purchase Orders.
-
Open the Purchase Order Record > Items tab.
-
In the Items table, locate the item to flag as received.
-
Click the Receive button. The Receive Product window will appear.
-
Click Save.
If the total quantity ordered is flagged as received, the Receive button will disappear.
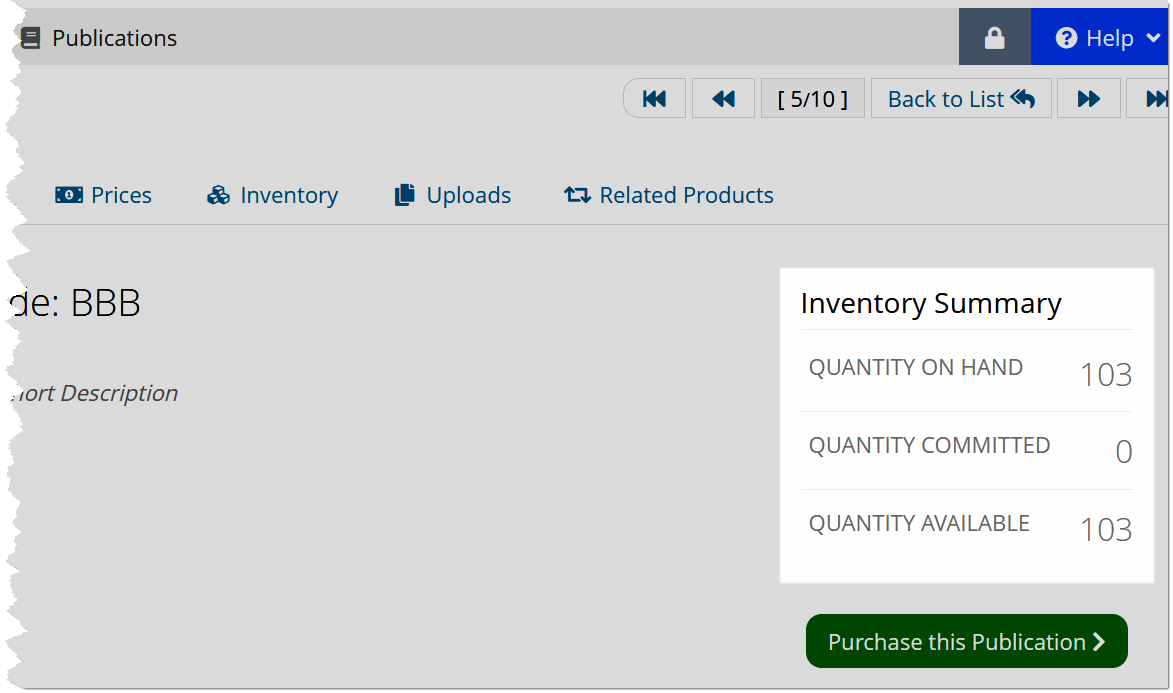
Once a product is received, the Quantity Available for that product will visibly increase in the following areas:
-
Product Record > Overview tab;
-
Warehouse Record > Inventory tab.